

Article: How to Get Color Consistency in Small Batch Dyeing?
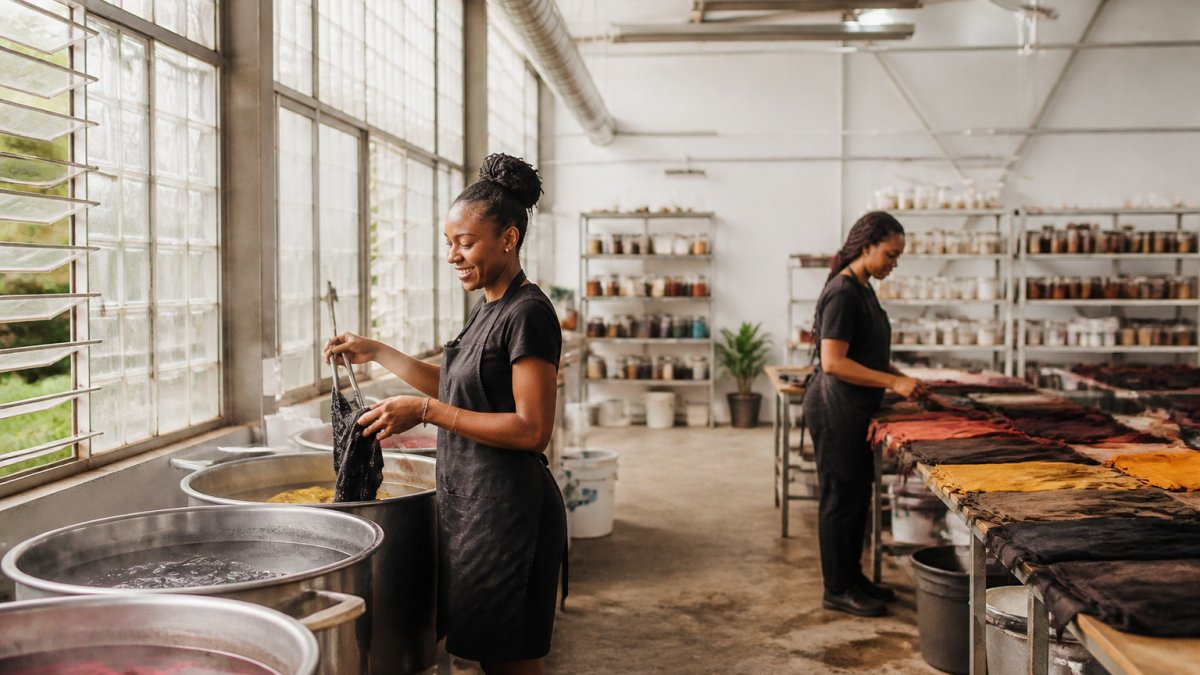
How to Get Color Consistency in Small Batch Dyeing?
Quick Summary
Color consistency in small batch dyeing comes from controlling a few measurable variables: weigh every dye and auxiliary, keep the liquor ratio, temperature and time identical, and test a dried swatch before committing the full fabric. Record every recipe version so a good shade can be repeated.
- Measure dye as a percentage of fabric weight using a scale that reads to 0.01 grams.
- Keep the liquor ratio the same every batch, such as 40:1 water to fabric weight.
- Pretreat fabric the same way each time and note its fiber content.
- Check every new dye lot with a test swatch against a saved reference swatch.
- Compare dried swatches under the same lighting, ideally daylight.
Table of Contents
- Why Small Batches Drift in Color
- Start with Fabric Composition and Pretreatment
- Calculate Your Dye Recipe by Weight
- Run a Fabric Dye Color Test Before the Full Batch
- Set Quality Control Checks for Each Dye Lot
- Record Every Recipe Version So You Can Repeat the Shade
- Book Your Next Dye Run With a Repeatable Plan
- Frequently Asked Questions
How to Get Color Consistency in Small Batch Dyeing?
Last Updated: November 1, 2026
Why Small Batches Drift in Color
Small batch dyeing is where many makers first notice color drift. A dye bath that looked perfect on Monday can produce a noticeably different shade on Thursday. At KAHINDO, we treat that drift as a process problem, not bad luck, and the fix starts with controlling a few variables you can measure.
Color consistency in small batch dyeing means getting the same shade every time you dye the same fabric with the same recipe. It sounds simple, but tiny differences in weight, water, heat, and timing add up fast on a few yards of cloth.
Natural dyes add another layer of difficulty. Natural dyes can add another layer of difficulty, since they are extracted from natural sources and can vary more from lot to lot. Both natural and synthetic dyes need careful control.
Small batches drift for a few common reasons:
- Inconsistent weighing: A small error in dye weight changes the shade more than you expect.
- Changing water: Mineral content and pH can shift from one day to the next.
- Uneven heat: A burner that runs hot on one side pulls color unevenly.
- Different fabric: Even the same fabric name can vary in fiber blend and weight.
Watch out: Eyeballing your dye amount is the fastest way to lose a shade. Measure everything by weight, every time.
Start with Fabric Composition and Pretreatment
Your fabric decides how the dye behaves before you even open the jar. Cotton, silk, wool, and blends all take up color differently, so write down the fiber content of every piece you dye.
Pretreatment matters just as much. Fabric that has been washed, scoured, or mordanted consistently will take up dye more evenly than fabric straight off the shelf. Skip this step once, and your next batch may look lighter or blotchy.
Keep these habits in place:
- Wash every piece the same way before dyeing.
- Note the fiber content on a label or in your records.
- Use the same pretreatment method for every batch of a given fabric.
- Test a scrap piece when you change fabric suppliers.
Calculate Your Dye Recipe by Weight
Volume measurements such as teaspoons and cups are unreliable for dyes. Weight is the only measure you can repeat accurately from batch to batch.
Start by calculating your dye amount as a percentage of the fabric weight. If you dye 100 grams of fabric at 2 percent dye, you use 2 grams of dye. Doubling the fabric means doubling the dye, and the math stays the same no matter how small the batch.
Write every recipe in grams with the fabric weight beside it. A simple recipe card might read:
| Item | Amount | Notes |
|---|---|---|
| Fabric (dry weight) | 100 g | Pretreated cotton |
| Dye | 2% (2 g) | Weighed on digital scale |
| Water | 40:1 liquor ratio (4 L) | Measured by volume |
| Soda ash | 1% (1 g) | Fixative, weighed |
Weighing Dye and Auxiliaries at Small Scale
Small amounts need a precise scale. A scale that reads to 0.01 grams gives you far better control than a kitchen scale that rounds to the nearest gram.
- Use a digital scale with a tare function.
- Weigh dye into a small container, then record the exact reading.
- Weigh fabric dry before wetting it.
- Weigh chemicals such as salt or soda ash separately, not by spoonful.
Watch out: Dye powder can clump or drift in humid air. Store dye in an airtight container and reweigh a fresh portion if the powder looks damp.
Setting Liquor Ratio, Temperature and Time
The liquor ratio is the weight of water compared to the weight of fabric. A common ratio is 40:1, meaning 4 liters of water for 100 grams of fabric. Keep the same ratio every batch, or the shade will shift.
Temperature and time work together. Heat the bath to the same target, hold it there for the same length of time, and cool it at the same rate. Log the start time, peak temperature, and finish time in your records.
Run a Fabric Dye Color Test Before the Full Batch
A test swatch shows you the result before you commit your full fabric and dye. Cut a small piece of the same fabric, dye it using the same recipe scaled down, and let it dry completely before judging the color.
Color looks different when wet. Always compare dried swatches under the same light, ideally daylight, and compare against a reference swatch you saved from an earlier successful batch.
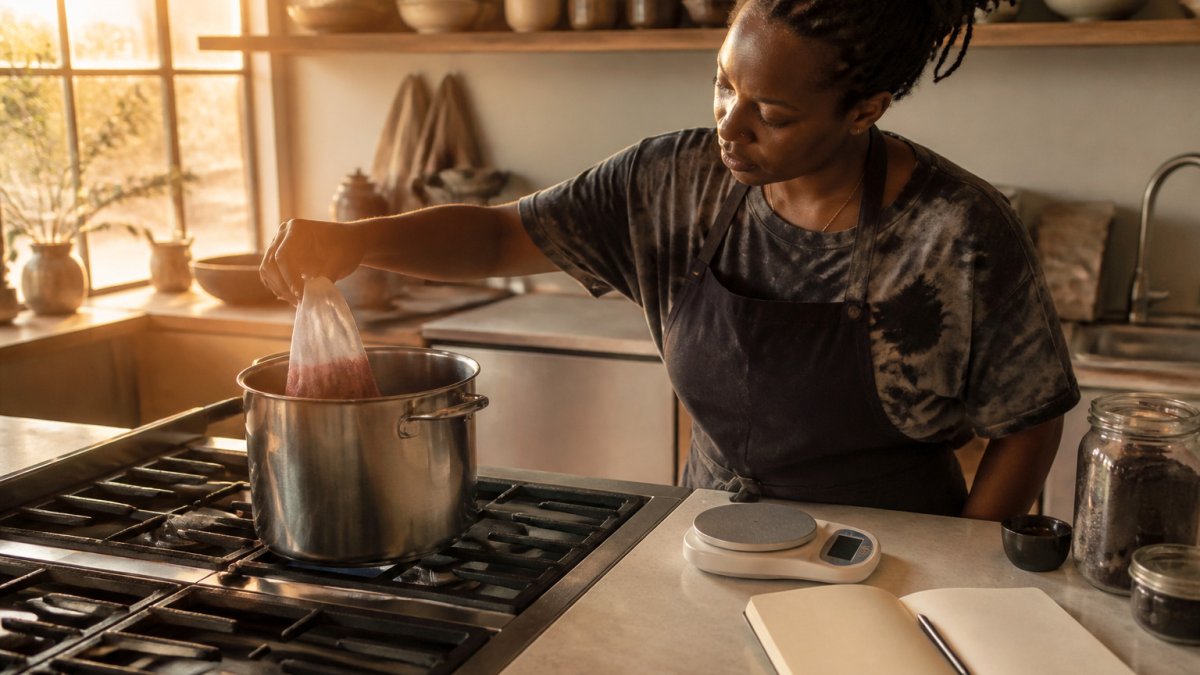
A common mistake is skipping the test because the recipe worked last time. Water, dye lots, and room conditions change, so a quick test saves you from ruining a full batch.
Set Quality Control Checks for Each Dye Lot
Every new dye lot can shift slightly from the last one. Treat each lot as a new variable and check it before using it on production fabric. To see how each lot can be traced back to its source, read the supply chain transparency guide.
Build a Lot Checkpoint Before Dyeing
Use a simple checklist for each incoming dye lot:
- Record the lot number, supplier, and receipt date.
- Dye a test swatch using your standard recipe and the new lot.
- Compare the dried swatch to your saved reference swatch under the same lighting conditions.
- If the shade is visibly off, adjust the recipe by small weight increments (typically 1-5% of the dye weight) and re-test.
- Record the final adjusted recipe and the lot number together so you can trace the change later.
A common pattern is to keep a reference swatch from every successful batch, labeled with the recipe version and dye lot. Over time, this becomes your own shade library, more useful than any generic color card because it reflects your water, your process, and your fabric.
Decide When Visual Assessment Is Enough
For many small studios, visual assessment under controlled lighting is sufficient. The key word is controlled: color looks different under incandescent, fluorescent, and daylight. Use a light booth or a north-facing window at the same time of day for every comparison.
Visual assessment works when:
- You are comparing against a physical reference swatch, not memory.
- The lighting is consistent and documented.
- You are checking for gross differences, not subtle shifts.
Visual assessment falls short when you need to communicate a tolerance to a customer or supplier, or when you are tracking drift over many batches. That is where numeric measurement helps.
Use Delta E Targets to Quantify “Close Enough”
A spectrophotometer measures color numerically and reports differences as Delta E (ΔE). The lower the Delta E, the closer the match. Common thresholds used in textile quality control include:
| Delta E (ΔE) | Interpretation | Typical use |
|---|---|---|
| Less than 1.0 | Visually indistinguishable to most observers | Critical match, customer approval |
| 1.0-2.0 | Close match; slight difference visible to trained eye | Production tolerance for many apparel fabrics |
| 2.0-3.0 | Noticeable difference under close inspection | Acceptable for some casual or textured fabrics |
| Greater than 3.0 | Clearly different shade | Reject or re-dye |
These thresholds are guidelines, not universal rules. The acceptable Delta E depends on your fabric, your customer, and the end use. A hand-dyed scarf may tolerate a Delta E of 2.0, while a matched set of garments may require under 1.0. Document the tolerance you choose and apply it consistently. Establishing these rigorous standards for your dye house provides a necessary foundation for achieving consistent sublimation results across all your production methods.
Measure Under Repeatable Conditions
If you use a spectrophotometer, the measurement conditions matter as much as the instrument. Standardize:
- Aperture size: Use the same aperture for every measurement. A larger aperture averages more of the fabric surface and reduces the effect of texture.
- Sample preparation: Measure the dried swatch, not wet fabric. Fold or layer the fabric to eliminate show-through from the background.
- Number of readings: Take at least three readings per swatch and average them. Fabric texture causes point-to-point variation.
- Instrument calibration: Calibrate against the white tile and black trap according to the manufacturer's schedule, and record the calibration date.
ASTM International color measurement standards
Record the Lot Decision
For each dye lot, record whether it was accepted as-is, accepted with a recipe adjustment, or rejected. Note the Delta E reading if you measured one, and the visual comparison result if you did not. This record lets you spot a supplier whose lots drift consistently, and it gives you evidence if you need to return a dye lot that falls outside your tolerance.
Record Every Recipe Version So You Can Repeat the Shade
Recordkeeping is the difference between a happy accident and a repeatable result. Save each recipe as a numbered version, and note what changed and why.
A useful recipe log includes:
- Version number and date
- Fabric type and pretreatment
- Dye weight, water volume, and liquor ratio
- Temperature profile and total time
- Test swatch result and notes on the final shade
Store your log somewhere you can find it fast, such as a shared spreadsheet or a labeled binder. When a shade drifts, you can compare the current version against the last good one and spot the change.
Book Your Next Dye Run With a Repeatable Plan
Consistent color comes from repeatable steps, not one perfect batch. Weigh carefully, pretreat the same way, test before you commit, check each dye lot, and record every version.
Plan your next run before you start: choose your fabric, pull the recipe version, schedule a test swatch, and set your quality checks. Once the process works, you can scale up with confidence.
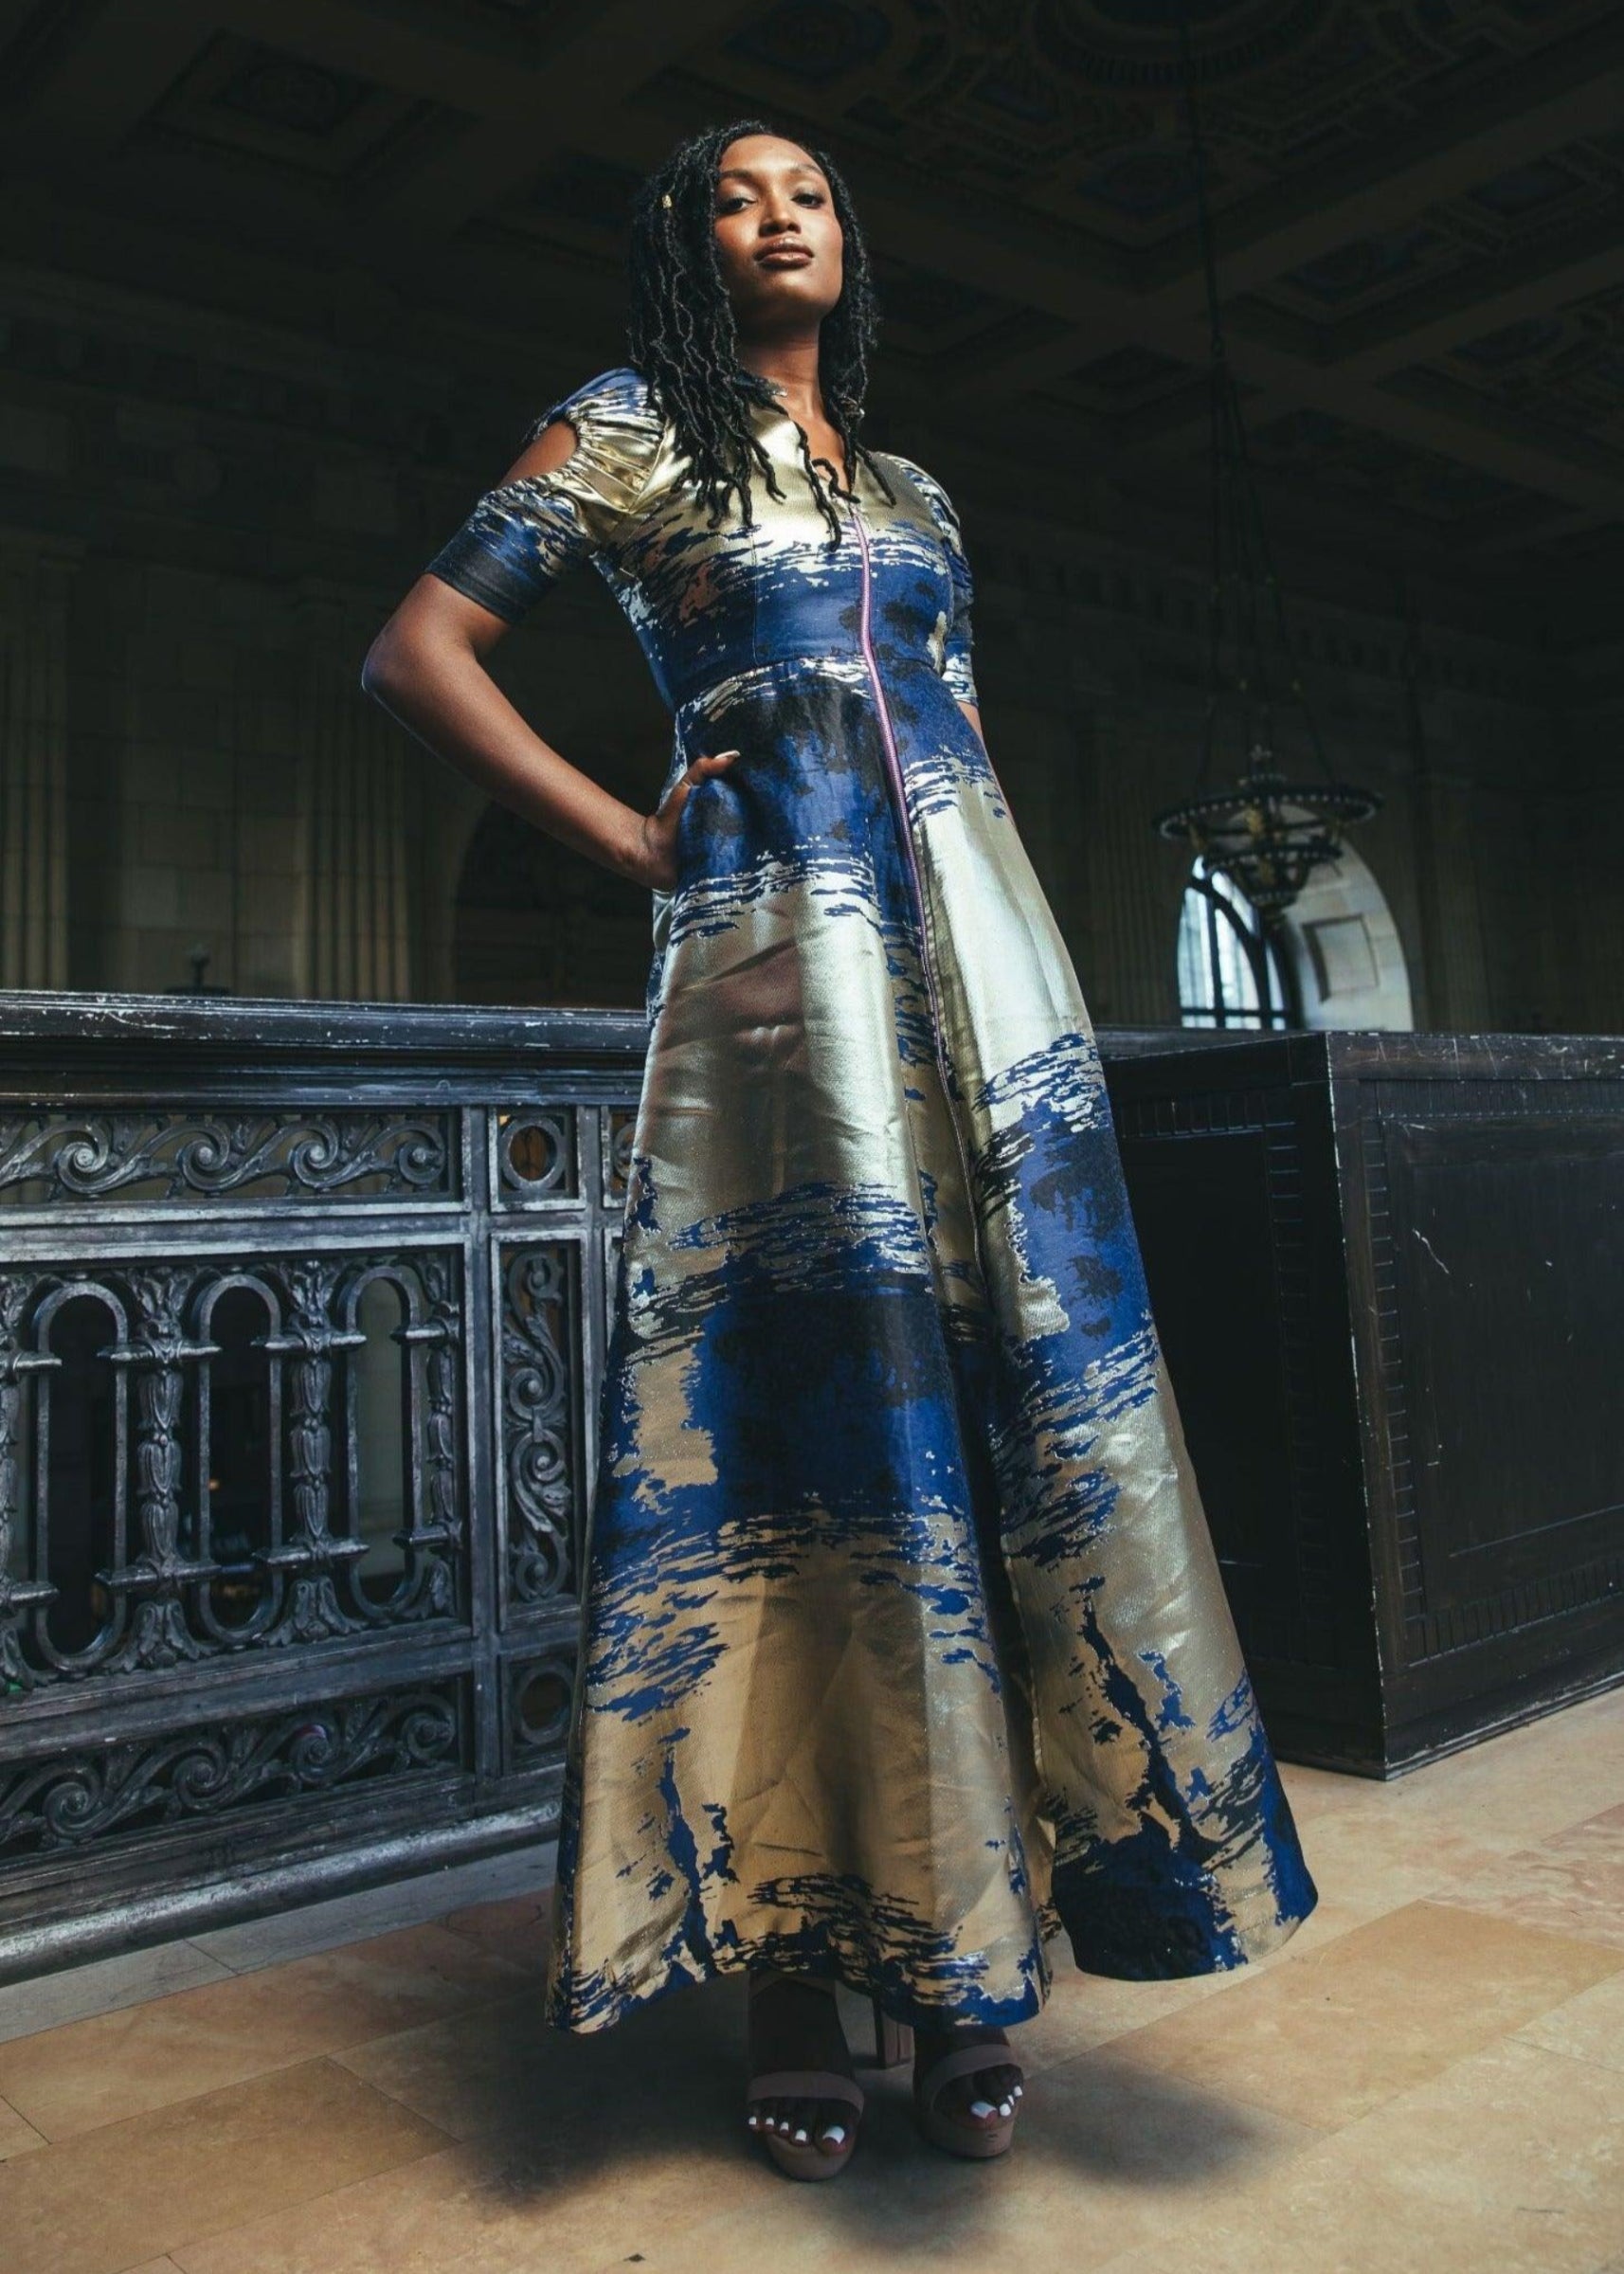
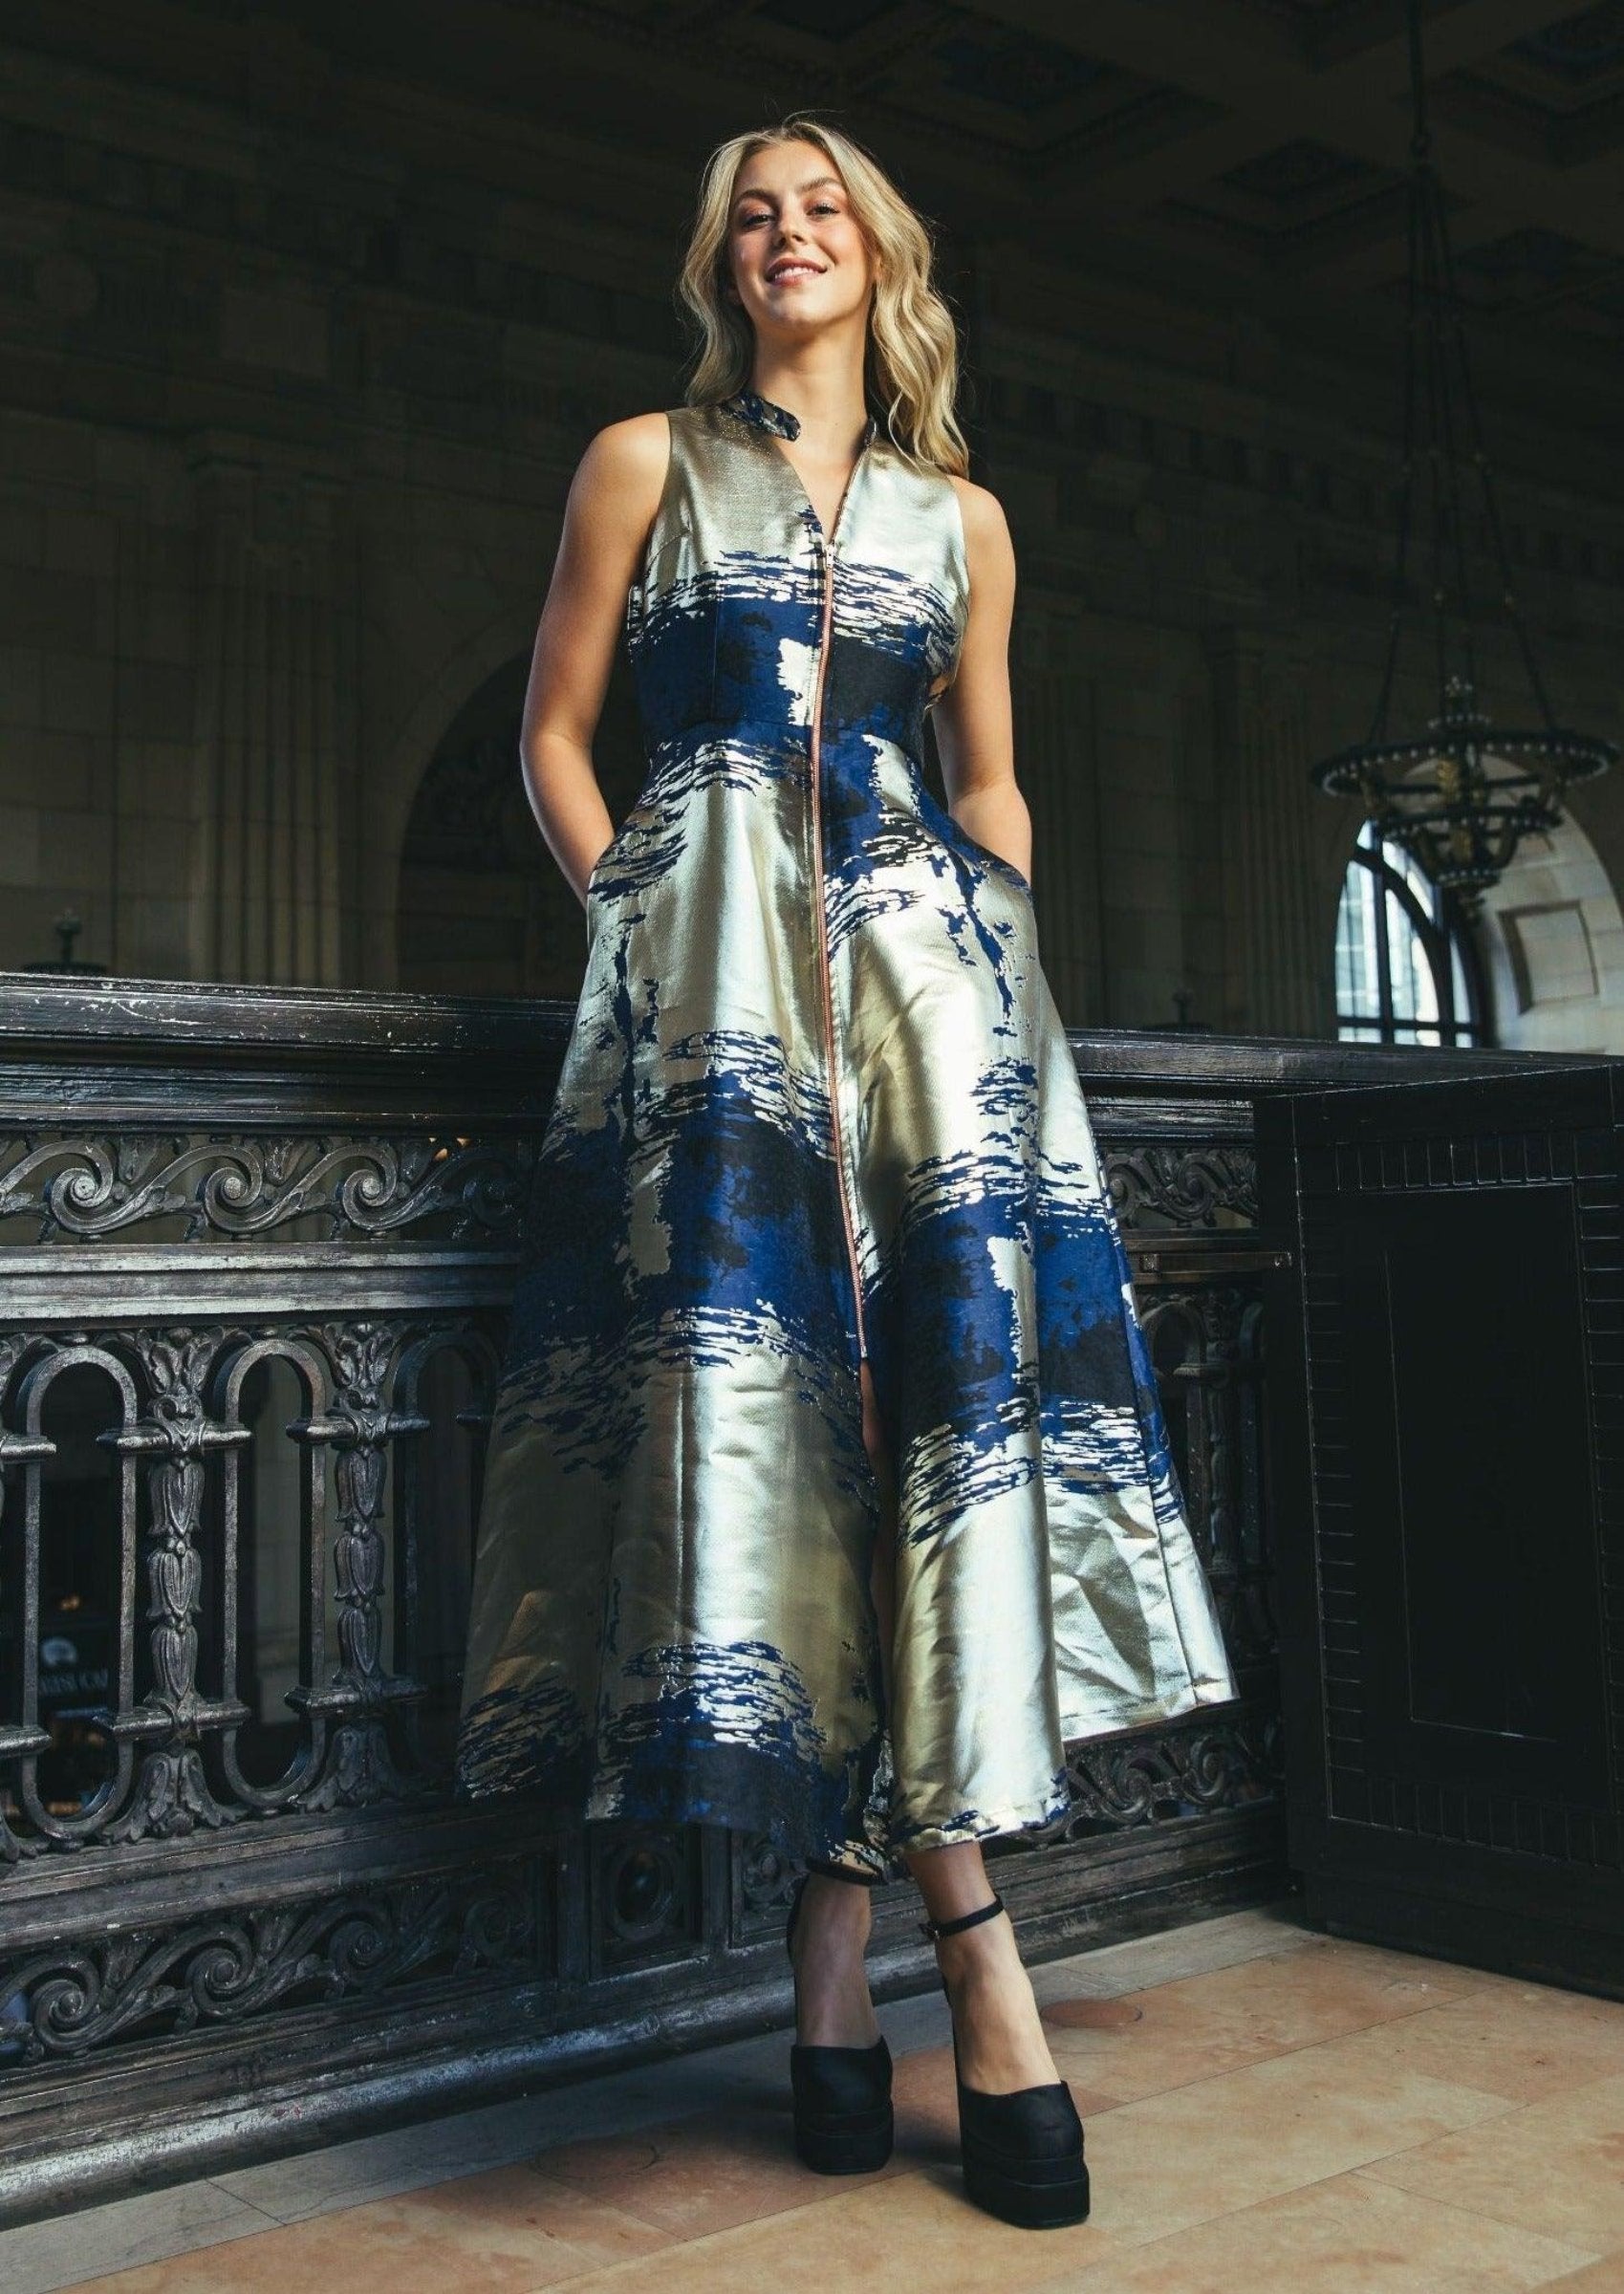
Ready to see how this process shows up in finished pieces? Explore the KAHINDO collection to see our occasionwear and shop Blue Ombré.
Frequently Asked Questions
How do you achieve consistent color in small-batch dyeing?
Consistency comes from controlling the same variables every run: fabric composition and pretreatment, dye weight measured on a scale, liquor ratio, bath temperature, and dyeing time. Keep the same fabric type and weight, measure dye and auxiliaries by weight rather than by spoon, and hold the bath at the same temperature for the same time. Run a small swatch test before each full batch and write down every setting, so any drift can be traced to a specific change rather than guessed at.
What causes batch-to-batch shade variation in fabric dyeing?
Shade variation usually comes from small differences in inputs or process. Common causes include inconsistent fabric weight or fiber content, uneven pretreatment, dye concentration measured by eye, shifts in water chemistry, and changes in temperature ramp or dyeing time. Natural dyes can also vary because they are extracted from plant sources, which makes uniform color harder to guarantee. Tracking each variable against the resulting shade is the fastest way to find the cause.
How do you calculate a dye recipe for a small fabric batch?
Start with the dry weight of the fabric and express the dye amount as a percentage of that weight, often called percent on weight (% owf). Multiply the fabric weight by the dye percentage to get the dye mass, then calculate the liquor volume from the liquor ratio, such as 20:1 for 100 grams of fabric in 2 liters of water. Weigh everything on a digital scale accurate to 0.01 gram. Record the final numbers so the recipe can be scaled up or repeated exactly.